Installing Boiler Temperature Sensor to ‘Colin’
Installing Boiler Temperature sensor Cable to Colin.
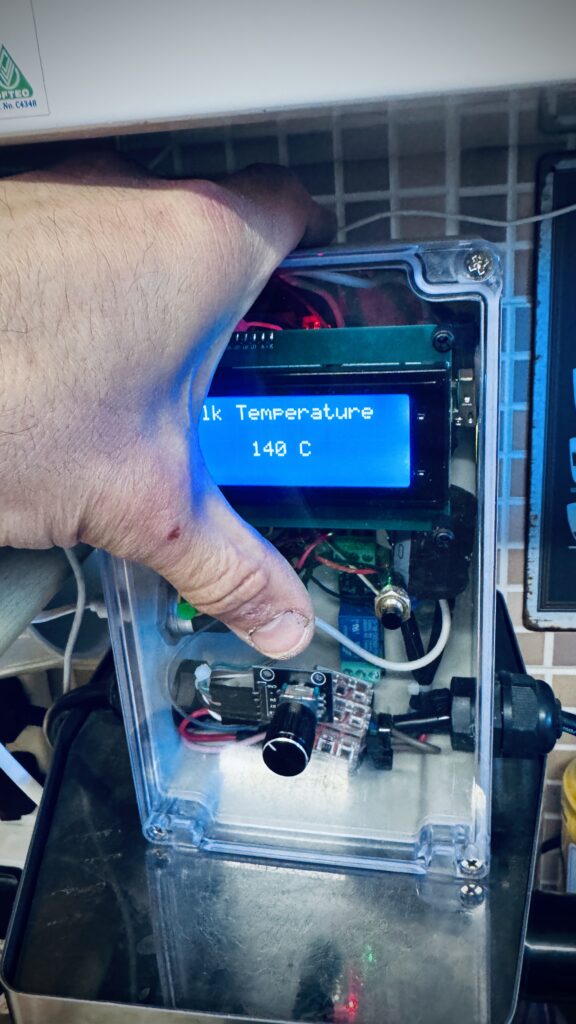
Firstly – Set target milk temperature of Colin above 140 degrees centigrade to avoid Colin flashing every time you use the temperature screen:
Rest hand on top of unit so ‘credits’ screen appears, and then hold down the White button to increase temperature to around 140c.
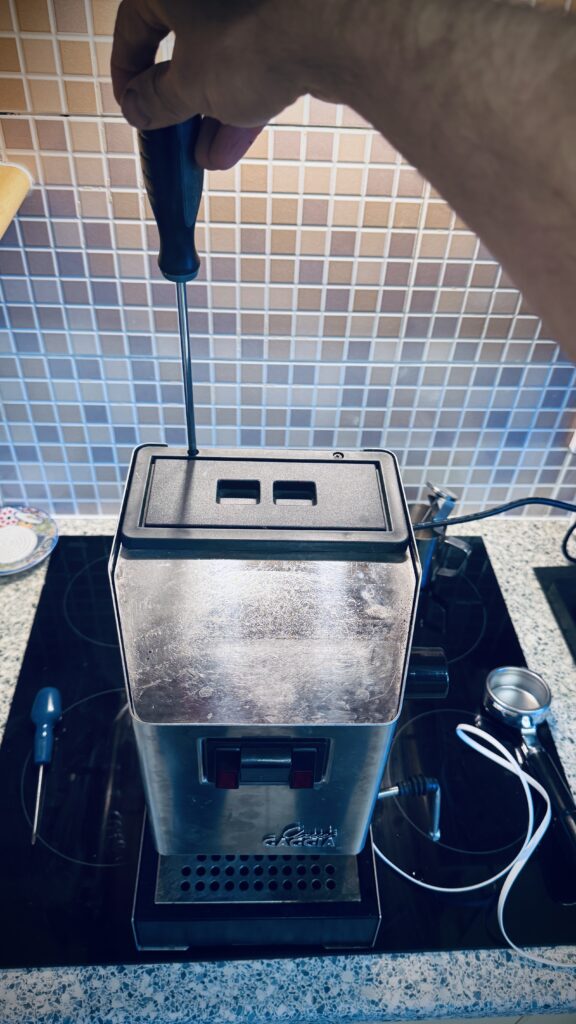
Next unscrew the two screws at the back of the top panel.
Rest the filler tunnel and top panel to one side keeping the earth strap attached.
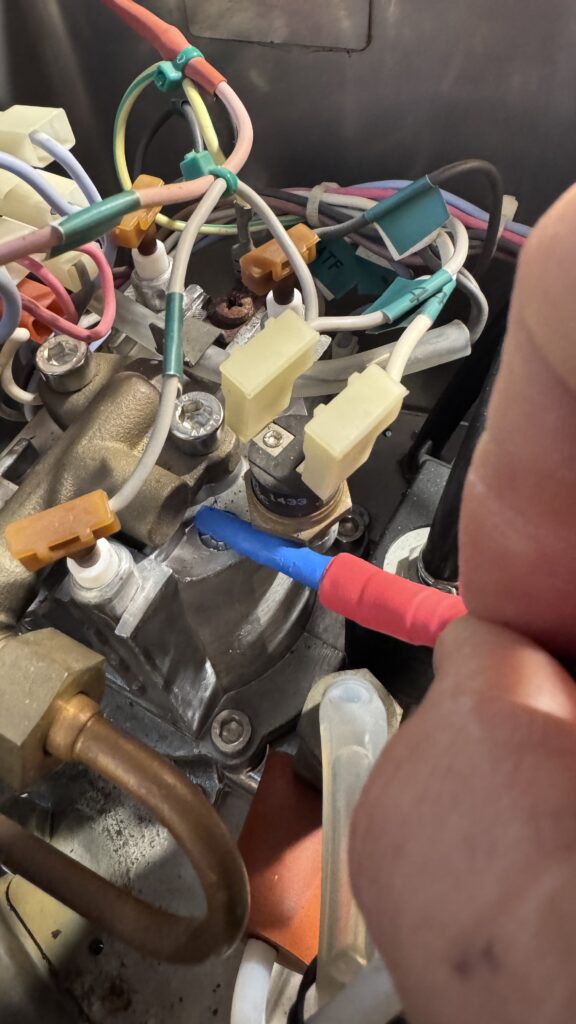
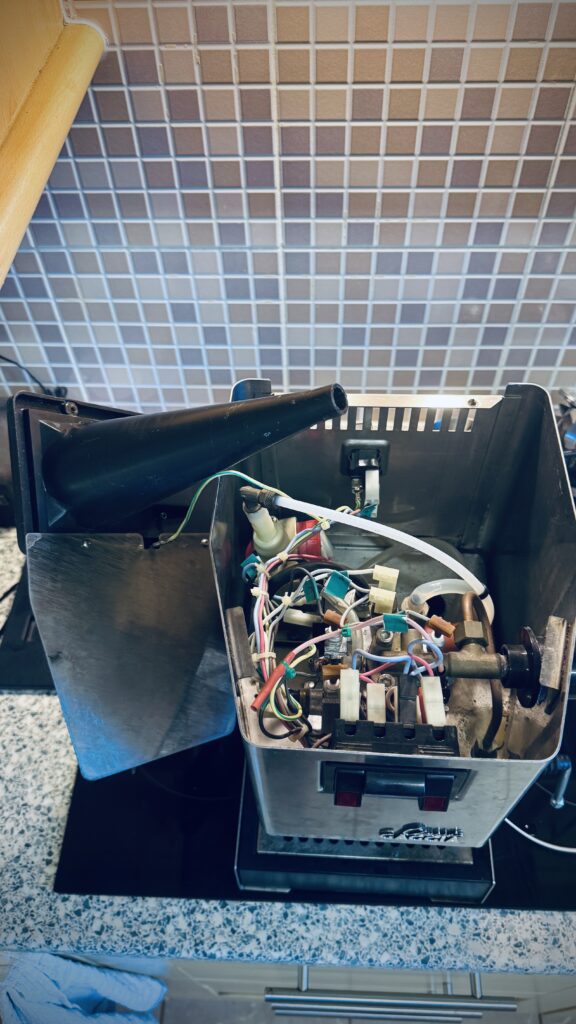
Locate the the rear themostate and present the sensor into the small slot underneath the steam valve. It should slide in very snuggly into the groove. You can slide it up to the red sleeving.
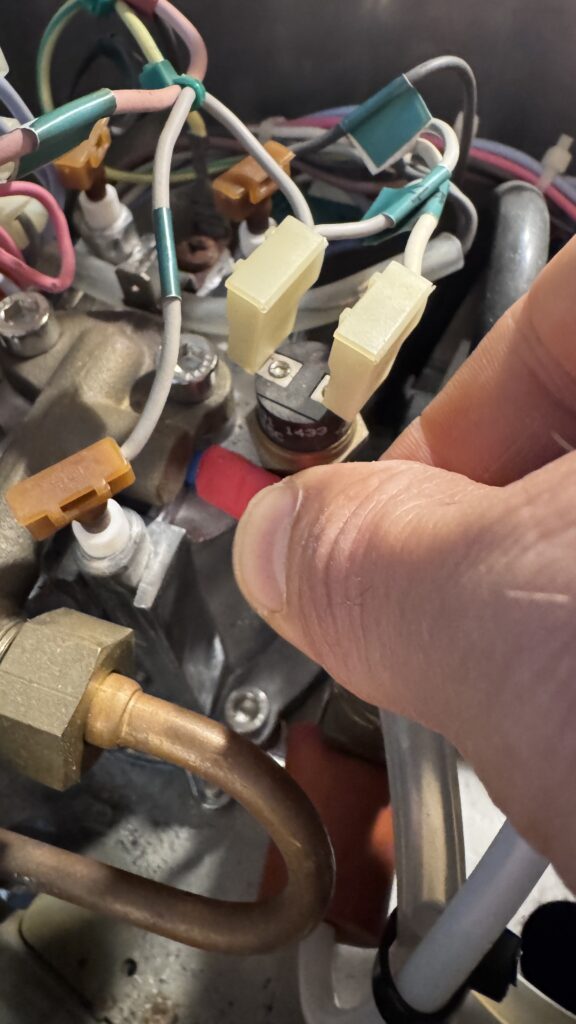
Slide sensor gently up to the red sleeving.
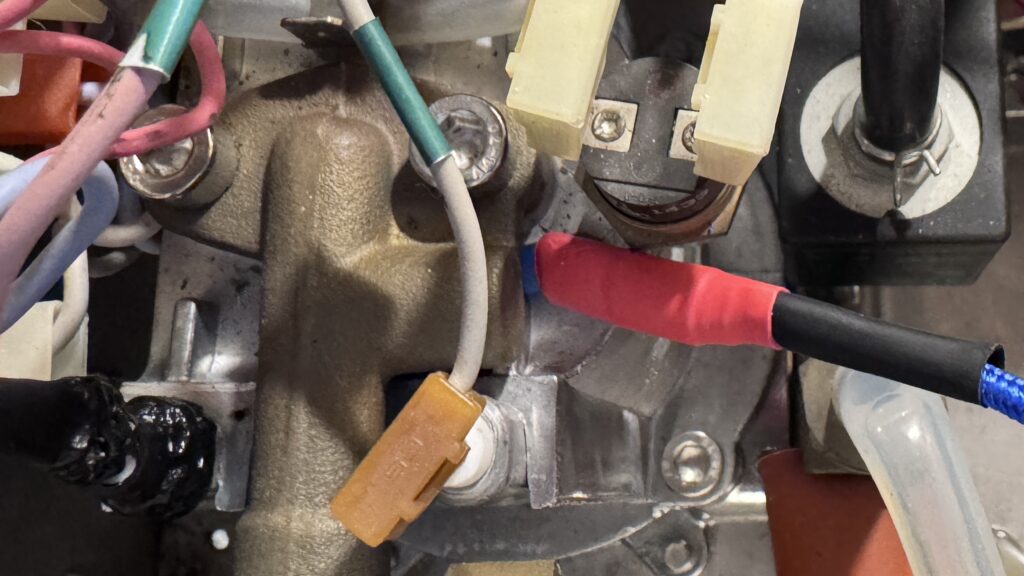
This is how it should look after you have secured the sensor behind the steam valve
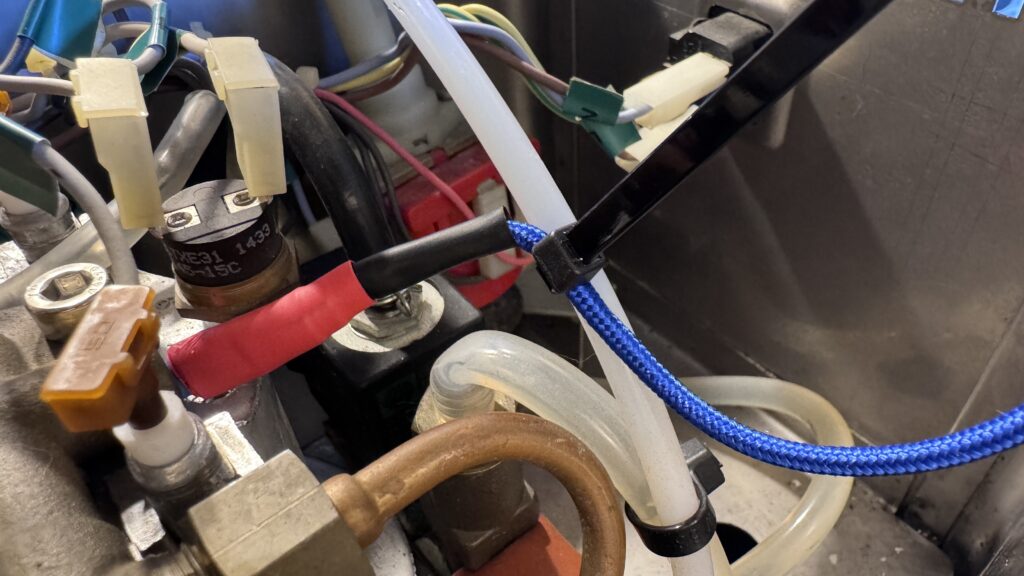
Secure cable to the water pipe using tie wrap.

This cable wont fit through a vent hole, but there is plenty of room to place it between the case and the filling plastic.
- Plug cable into Colin USB port, and in milk heat mode you should now see the boiler temperatures.
- Typically on mine I get 85-95c when in espresso making mode.
- I get typically 118-138c when in milk steaming mode.
- The temperature will fluctuate, cycling between around 120 and 135c when steaming milk.
- When the temperature starts to fall, close steamer knob, and wait. You will notice the steamer light go out when the unit is descending in temperature to around 120c. After about 8-10 seconds the temperature starts to climb. This is the critical point where you get about 45 seconds of full power steam whilst the temperature climbs back up. The temperature is almost irrelevant so long as the boiler is increasing in temperature, it will keep up with the steaming.