Mazzer Super Jolly Refurb

Following 7 years of using a Carimali G1 grinder I bought two Mazzer Super Jolly grinders to refurb and modify to doseless versions. One SJ came from a Café in Corby that had upgraded to digital dosed grinders, whilst the other one was from a home user on Facebook Marketplace.
Both Grinders had a few issues and had needed a bit of TLC.

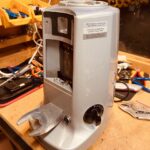
One is considerably newer than the other with slightly different design. The lids have different designs, but most notably is the switch which comes in either a push to start version, or a timer version. These two machines had different switches. The intention is to put one of these grinders on a separate grind timer device, so using the one with a timer switch made more sense as this can be easily adjusted to stay ‘on’ permanently’ without modding or cutting the case of a new switch.
The doser has a slightly different appearance in the shield above the grinds chute. Other than that the machines are almost identical.
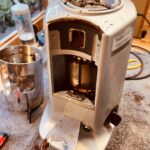
Starting the Strip Down

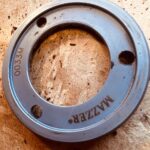
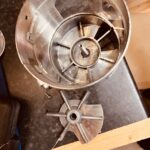
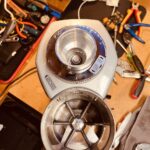
64mm Mazzer Burrs

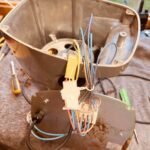
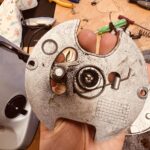
Wiring colours inside are similar to the Gaggia Classic with pale pastel colours. The motor can be disconnected with a plug and the only other connections are a neon lamp and a timer switch which has a couple pole switch that breaks both the neutral and live.
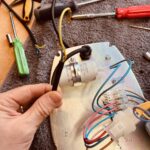
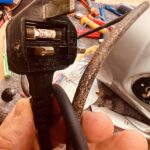
The original cable had had its day. The outer insulation was brittle and ready to crack. The plug top had the wrong fuse and a missing fuse cover. The entire cable was removed and replaced with a new one.
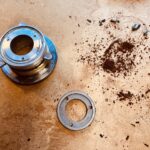

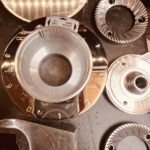
Anything that could be soaked in Cafiza at this point was soaked and refreshed to its original sparkly appearance!
Sparkly Parts!


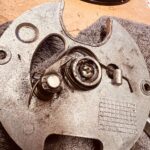
The doser spring had snapped after years of use. These are easily replaced but can easily be temporarily repaired by bending the far element of the spring back round the spring holder.
Once everything was cleaned and the machine blown out with an air compressor it was time to start putting everything back together again.
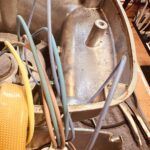
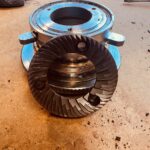
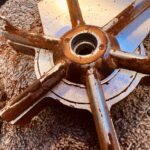
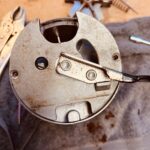
The lower burr carrier is the only tricky part. This slides on to the hub of the motor spindle. However it MUST line up with the notches at the base of the carrier, else it will not go all the way to the bottom and you will have to work at getting it off again which is not easy without a puller.
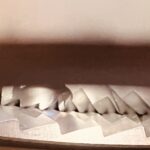


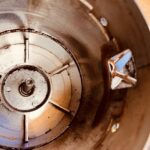
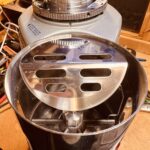
The above images show how close the burr teeth get to each other without touching.

The timer switch and surrounding decor was screwed back on. The screws go directly into the timer switch. The timer was locked off inside so that it does not count down and remains in the ON position ready for the external timer.
