
Brought back from the Dead! The Gaggia Baby Dose MAJOR repair
A friend recently bought a ‘new’ coffee machine from eBay for 35 pound. This was a Gaggia Baby Dose which typically, when working sell for between 120-250 pound. When purchased, the seller advertised it as ‘tripping the electrics’ when switched on. This is often caused by a water leak sending current away; so he took a gamble and decided to purchase it with the intent of it being a quick repair.

When it arrived he swiftly dismantled it and indeed found evidence of water leakage, but more worryingly there was evidence of burnt out components on the control board. I am not a fan of coffee machines with control boards. Manual switches controlling individual parts of the machine are far more reliable. Steam and high pressure water, a centimetre or two from mains voltage rarely ends well if there are even the slightest of fault conditions. He brought the machine over to the workshop and we started work on a repair.
The aim of this repair was not to end up spending as much as a working machine. So many of these repairs may beckon the question, ‘why not just buy a new component’, but this defeated the purpose of the project, which was to fix the machine at little to no cost. In fact in total the repair bill totalled parts at less than 15 UK pounds.
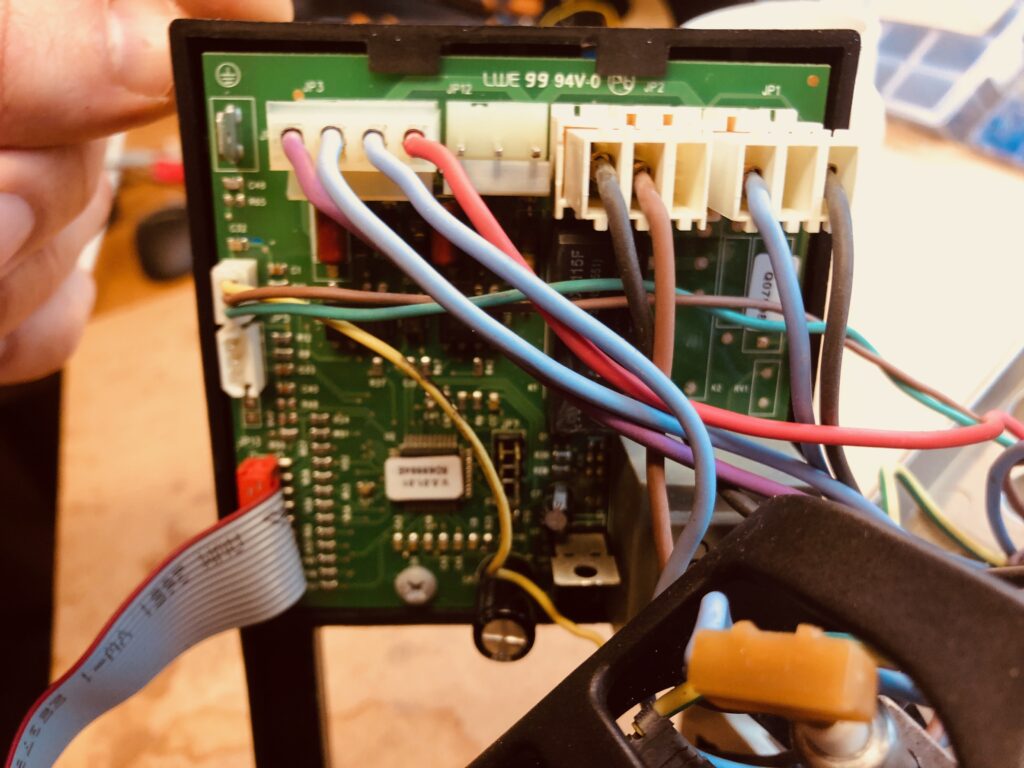
Control Board
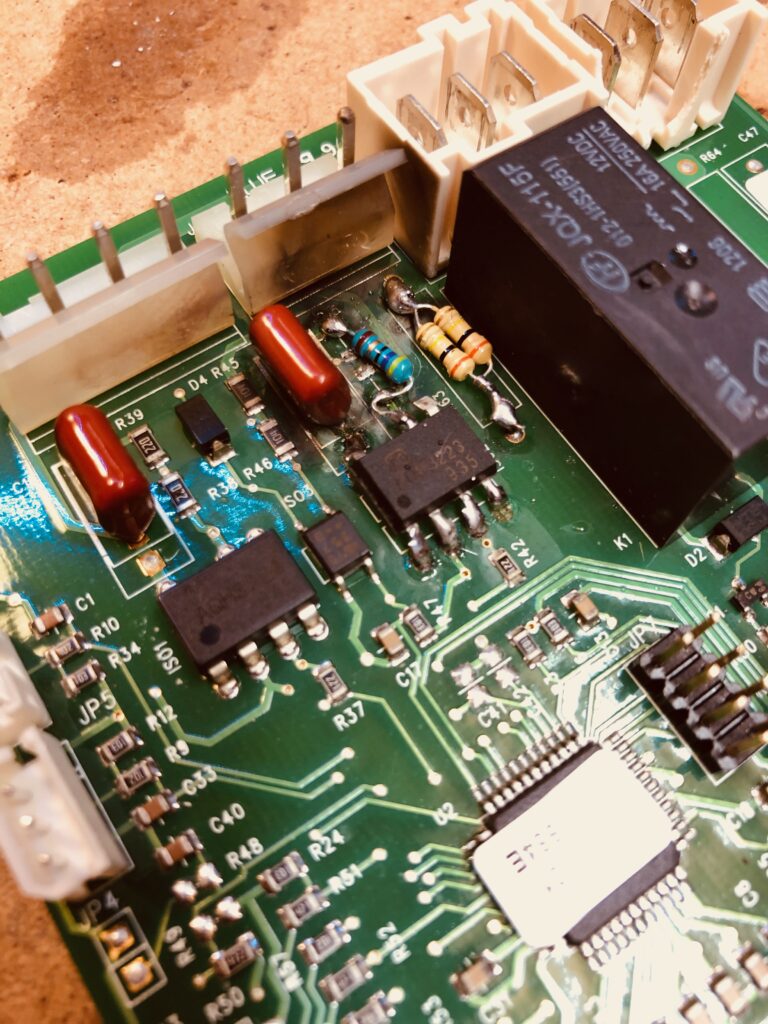
Initially we labelled and dismantled all components to examine their condition. The control board was made up of a low voltage / high voltage separated control board with solid state relays between the two. One controlled the pump/solenoid, and the other controlled the heating element. It was obvious one solid state relay had completely burnt out taking with it the capacitor/resistor network nearby. Several components were either missing or crumbling in smokey remains. By examining a photograph of a replacement board found online we were able to establish the values of the components and order replacements cheaply from eBay.
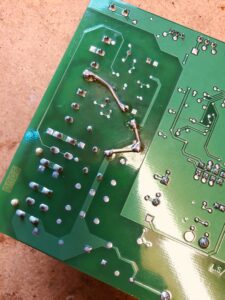
Several components including the Solid State Relay IC and the supporting resistors were changed for 1/4 watt through-hole versions.
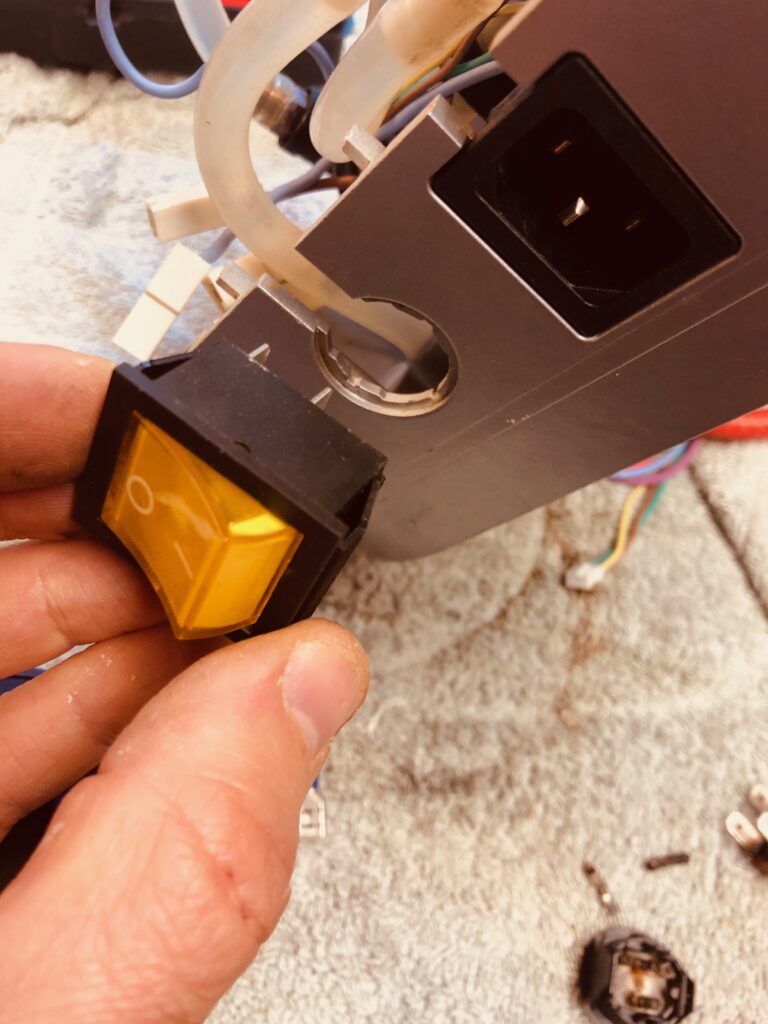
The components were replaced, and the machine fired up. Nothing. Dead as a dodo. Starting systematically with a multimeter, I checked the voltage at the switch which showed voltage at the terminals but one side of the DP switch was not connecting. Removing the switch showed a previous attempt at a repair. A blob of solder had been crudely applied to one side of the connector to try and establish at better connection.
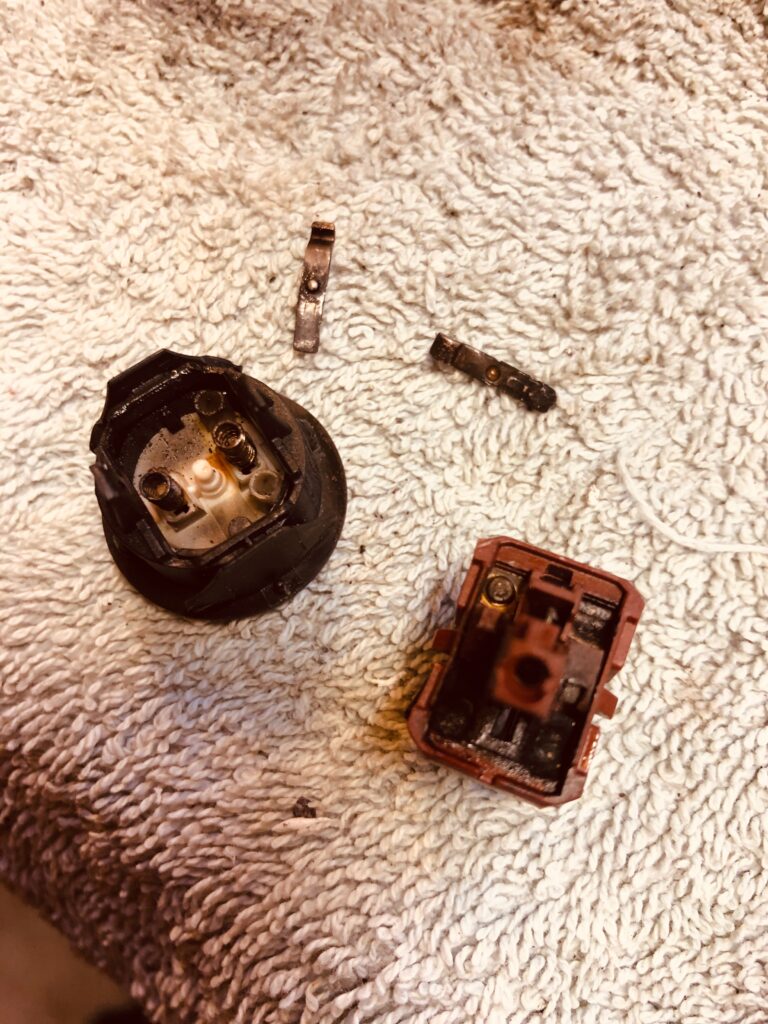
It was clear this switch had called it a day. Fitting a new switch was a little tricky. Replacing the switch with an original part would have been at significant cost, so it was time for some case modifications to install a standard robust DP square switch in a round hole. A bit of gentle work with a hacksaw saw the switch fit in nicely. Sadly the spade connectors did not fit, so off they came and new ones crimped on. We had power to the board! (And a nice light up switch as a bonus!)
Hm, a problem astronauts have had in the past. 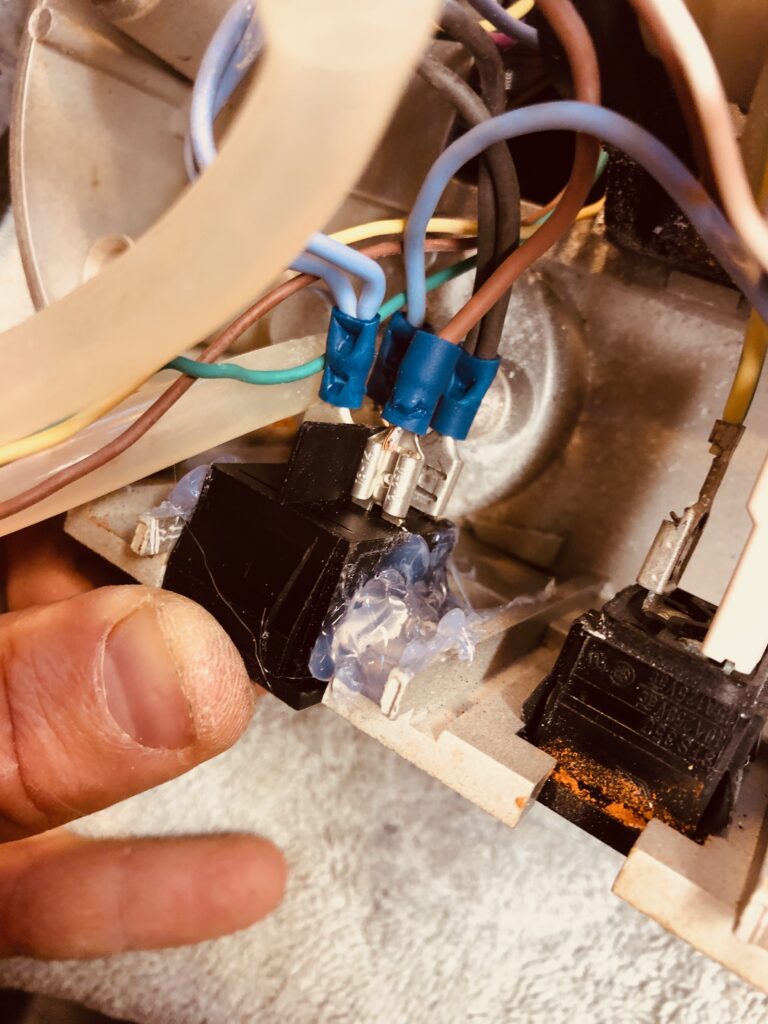
Hot melt glue to secure the switch 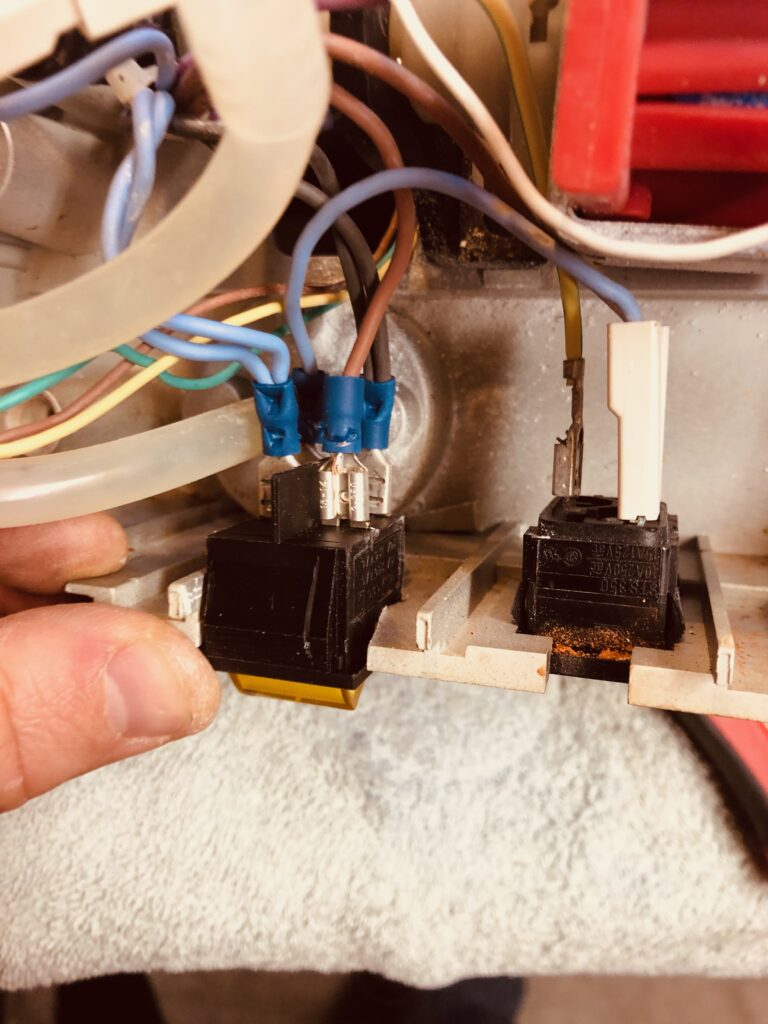
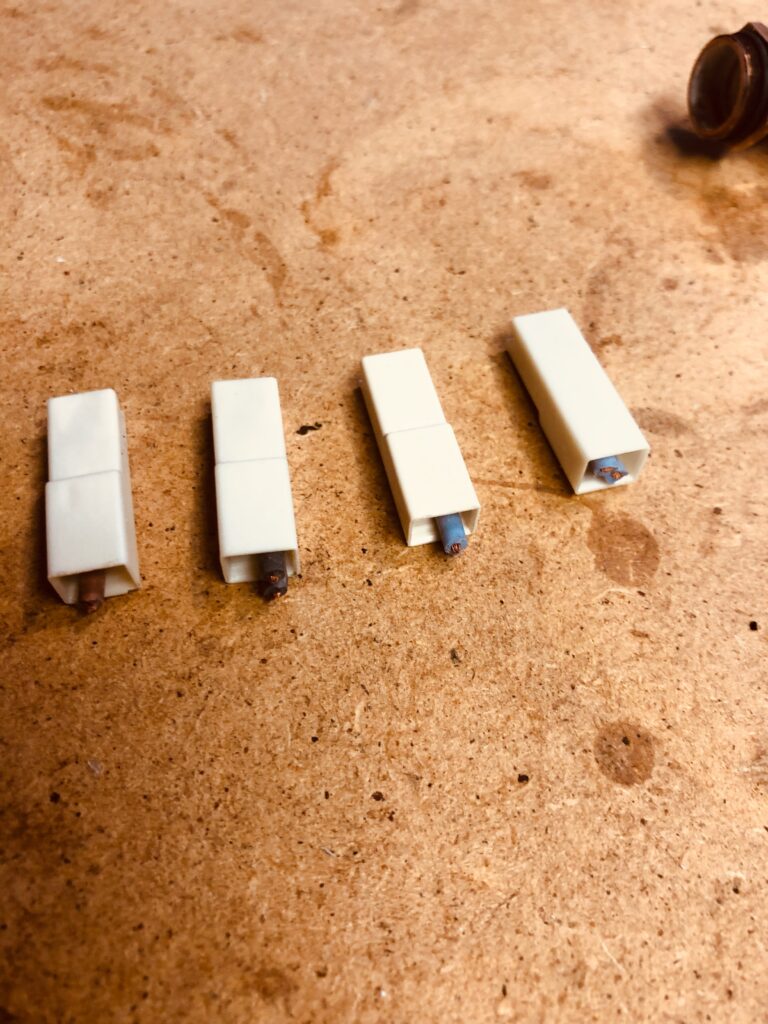
Replaced spade connectors 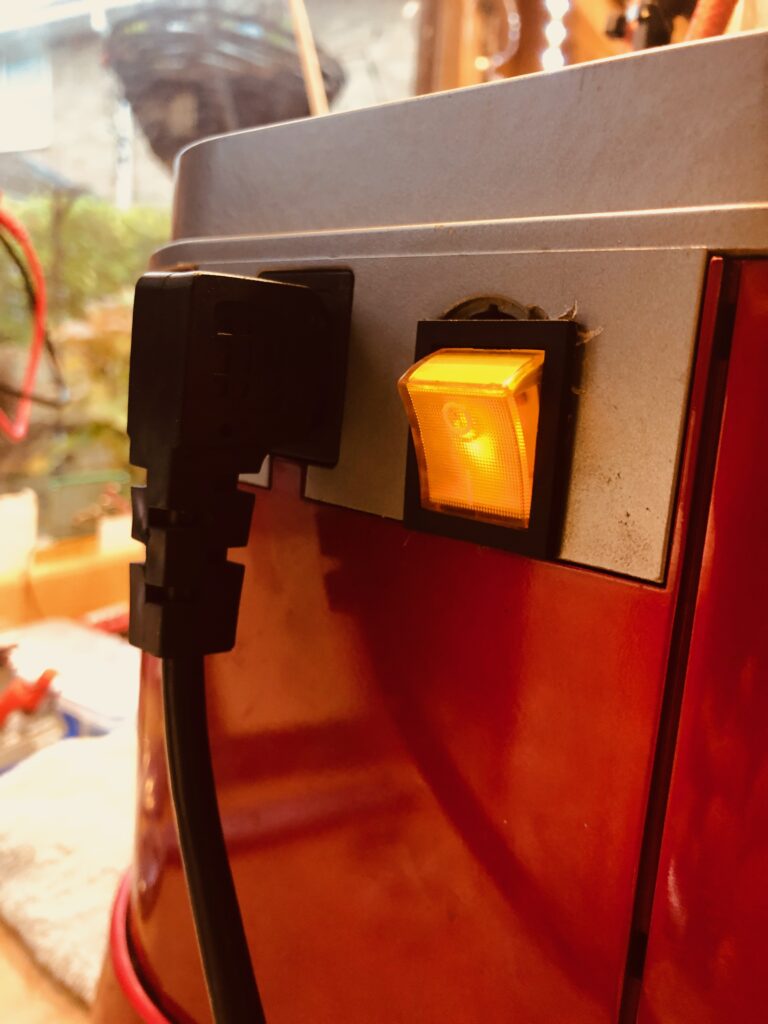
Not perfect, but a working switch for £4!
Power up! We have flashing lights on the front panel. The ‘heating’ lamp was flashing. (More on this later), and the heating elements are heating. Good news so far.
So we filled the tank with water and dare to hit the pump button.
There was noise. Lots of it. And heat! Good signs for coffee, but alas no water fell from the group head. Water did spray all over the inside of the machine however. The steam wand was also functioning okay. So why no water from the grouphead?
First thing to do was strip the boiler apart and see if we have a clear path for the water to run. The boiler was not in good condition, and nor were the rubber seals:
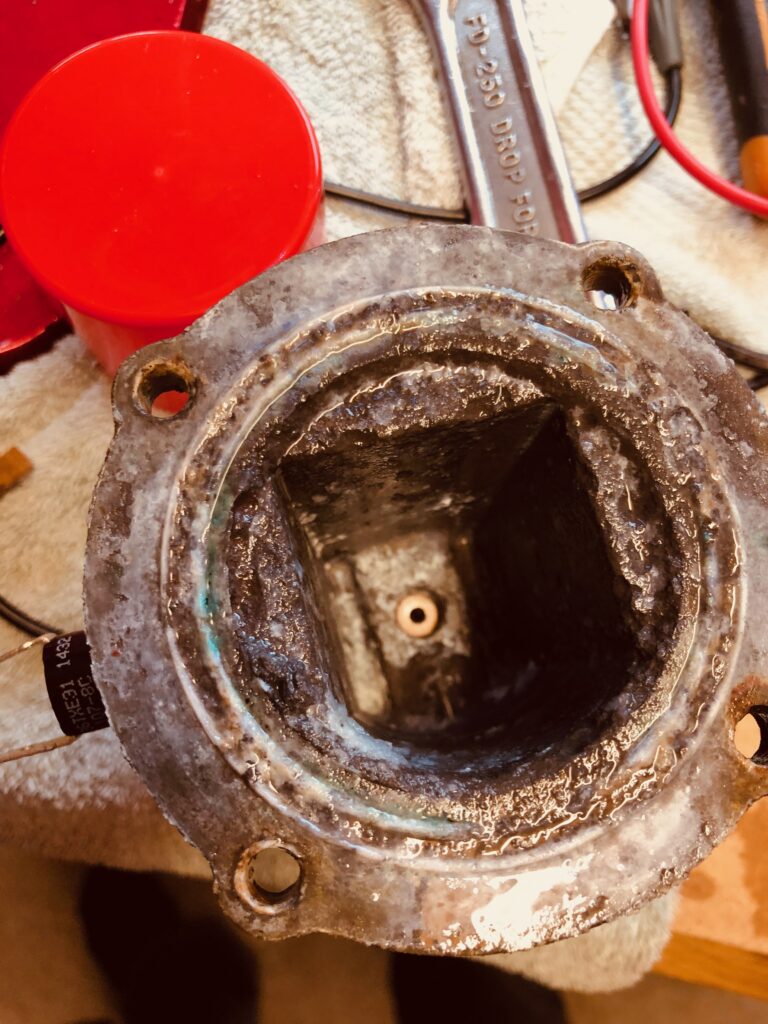
Inside the boiler chamber 
So much corrosion, getting this cleaned up would be difficult 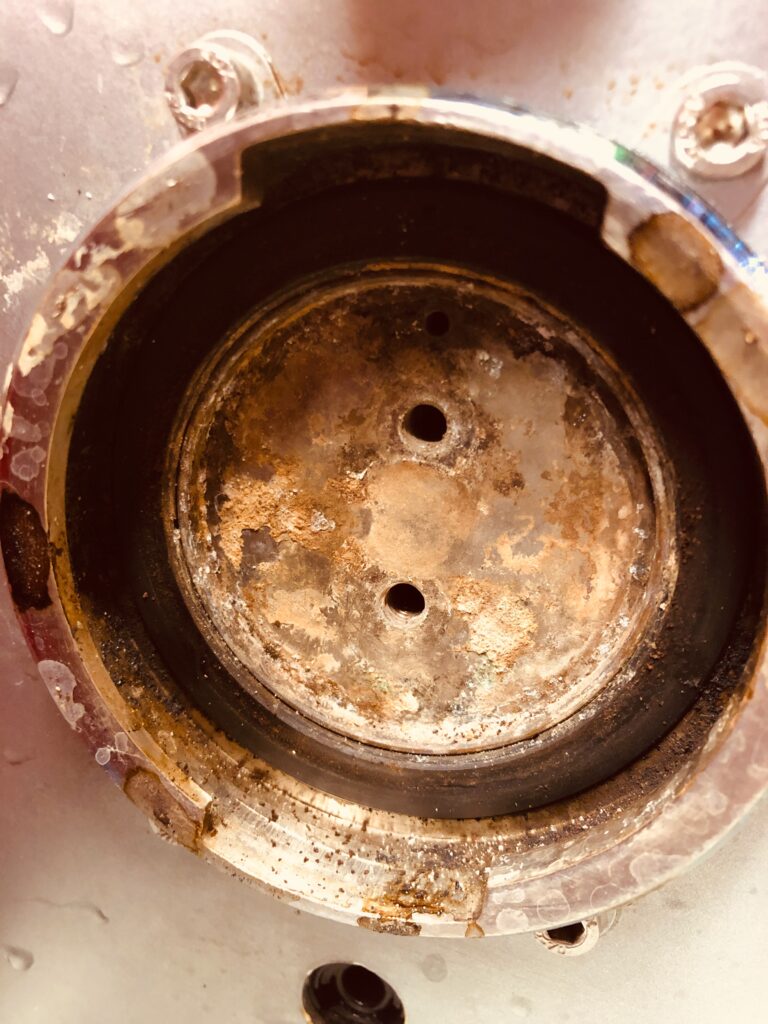
The grouphead before cleaning. 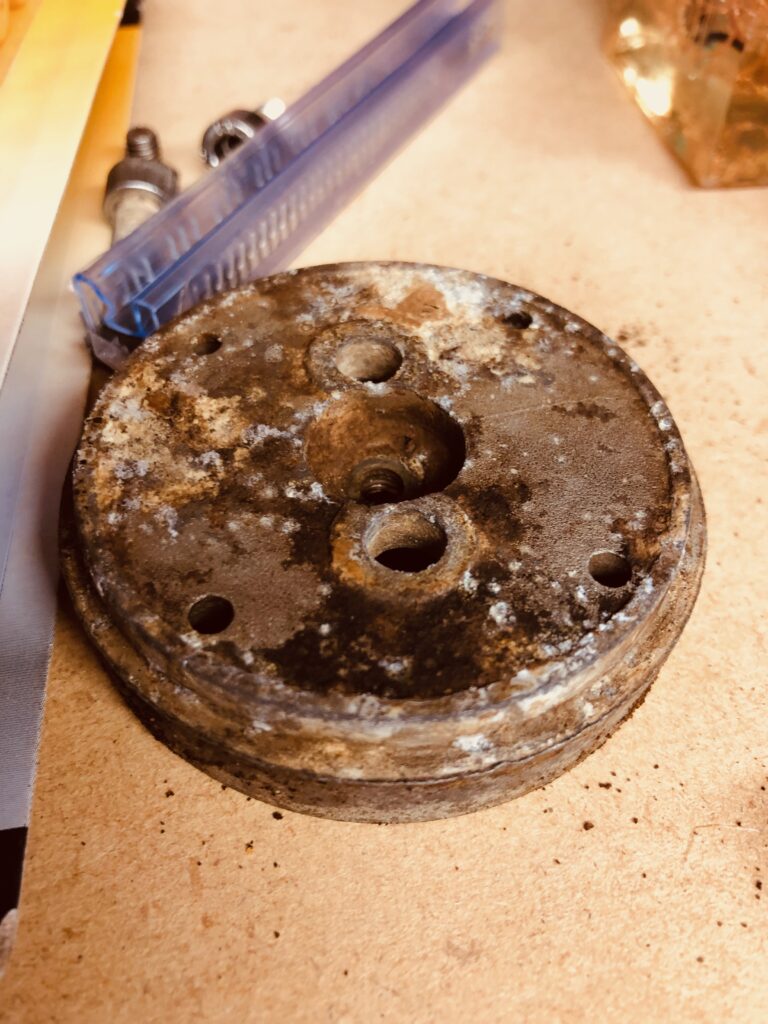
The shower plate corrosion 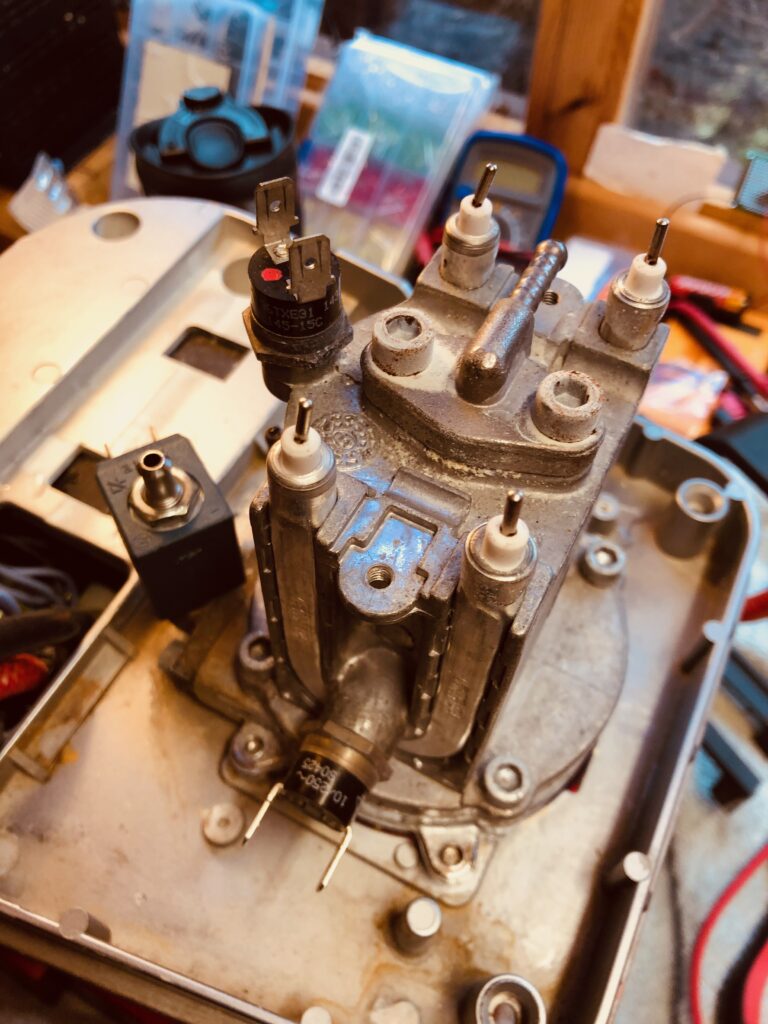
The thermostats appear to work, but are cheap so were replaced anyway.
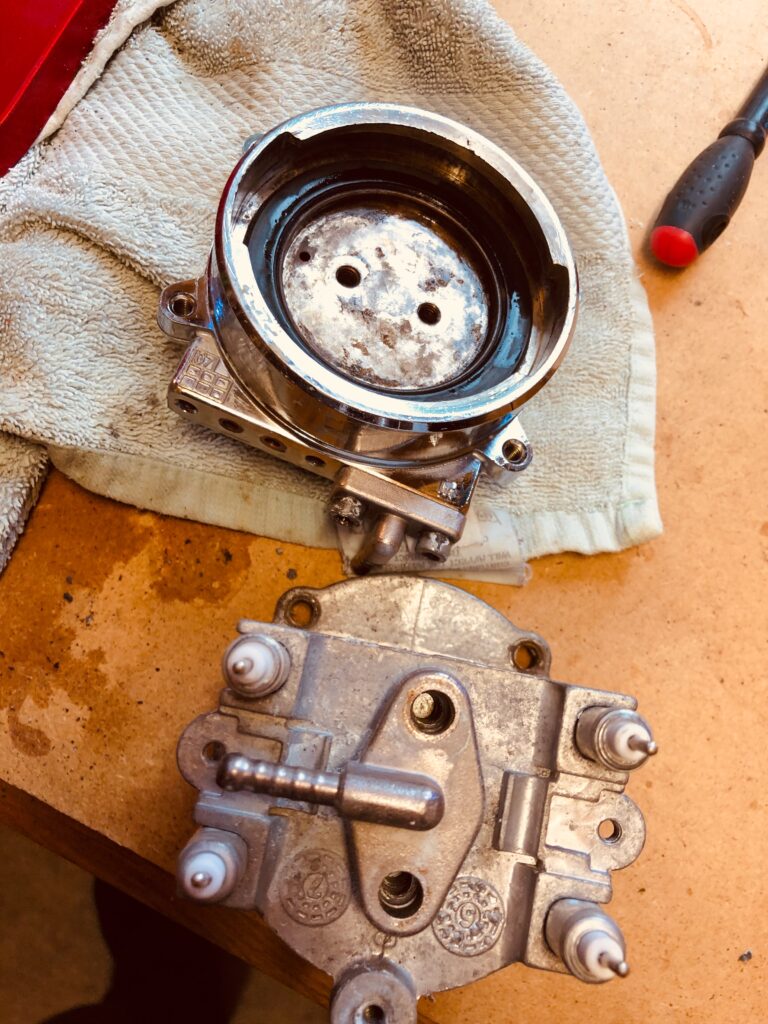
Shiny grouphead after cleaning 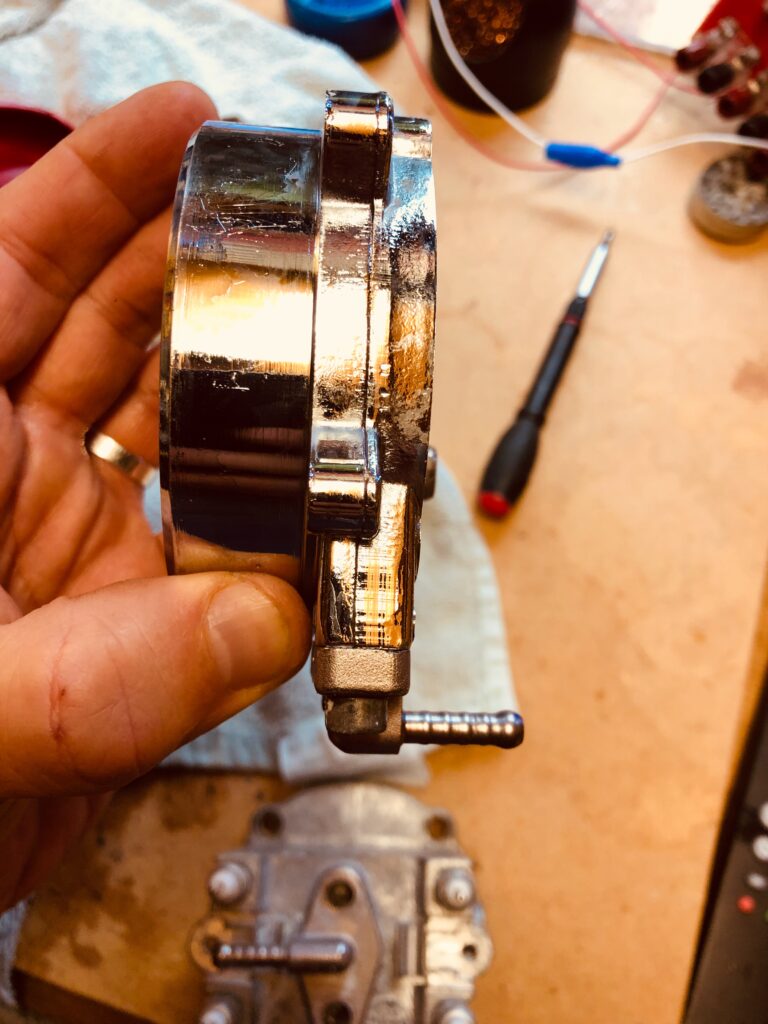
Looking good!
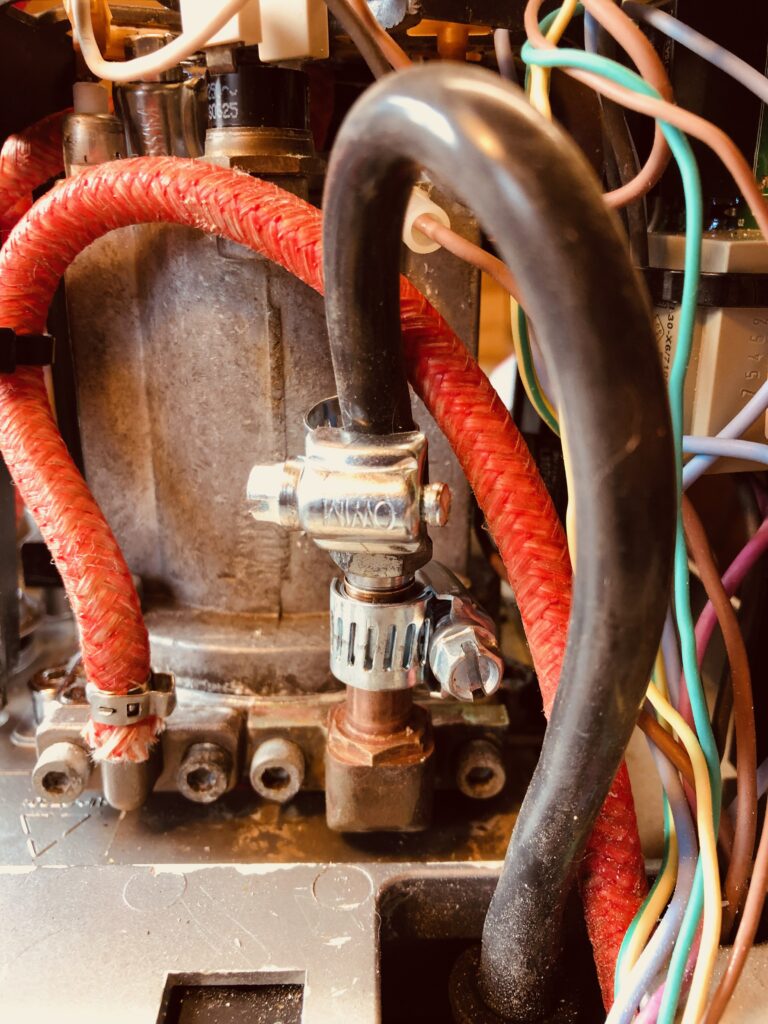
If we follow the waters path from the pump, it enters the bottom of the boiler via a rubber tube. This then fills the boiler until the water reaches the top of standing copper pipe that’s purpose is to stop the boiler running dry.
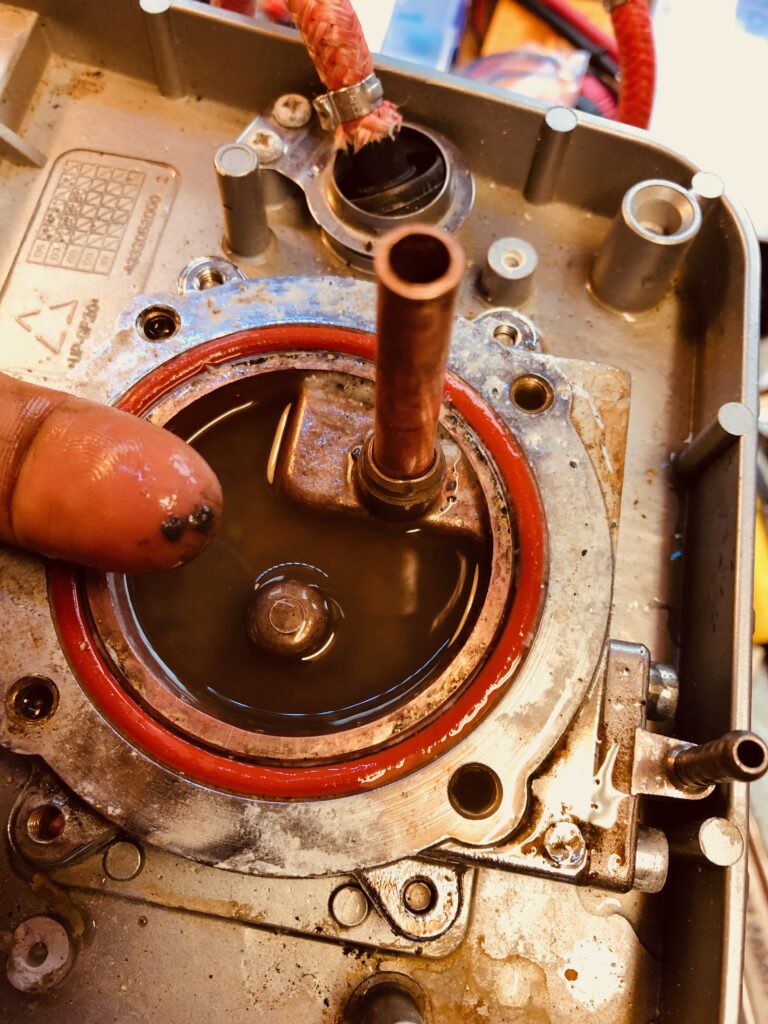
Once the water runs down this pipe it exits the boiler via a small tube and usually immediately reenters the grouphead directly below. This function is permitted via the use of a solenoid. The solenoid is a small diverting device controlled by a coil which is powered by the control board. Without power to the coil the path of the water is permanently blocked to the grouphead.
What is the purpose of the solenoid? Well at the end of your coffee shot the solenoid opens to create a third path for the water to exit up through the top of the solenoid tube via a tube back to the drip tray. This function allows the ‘puck’ of coffee to be dry after you have pulled a shot. This convenience stops the puck being soaked in water, but is largely a nicety we can do without. Many machines, including the later famous Gaggia Classic removed this feature entirely, and for the sake of convenience we too are going to remove it.
So we move on to the long and arduous process of removing the coil from the circuit entirely. This proved to be quite a lot more work than I anticipated.
Removing the solenoid we see its in a pretty bad way:
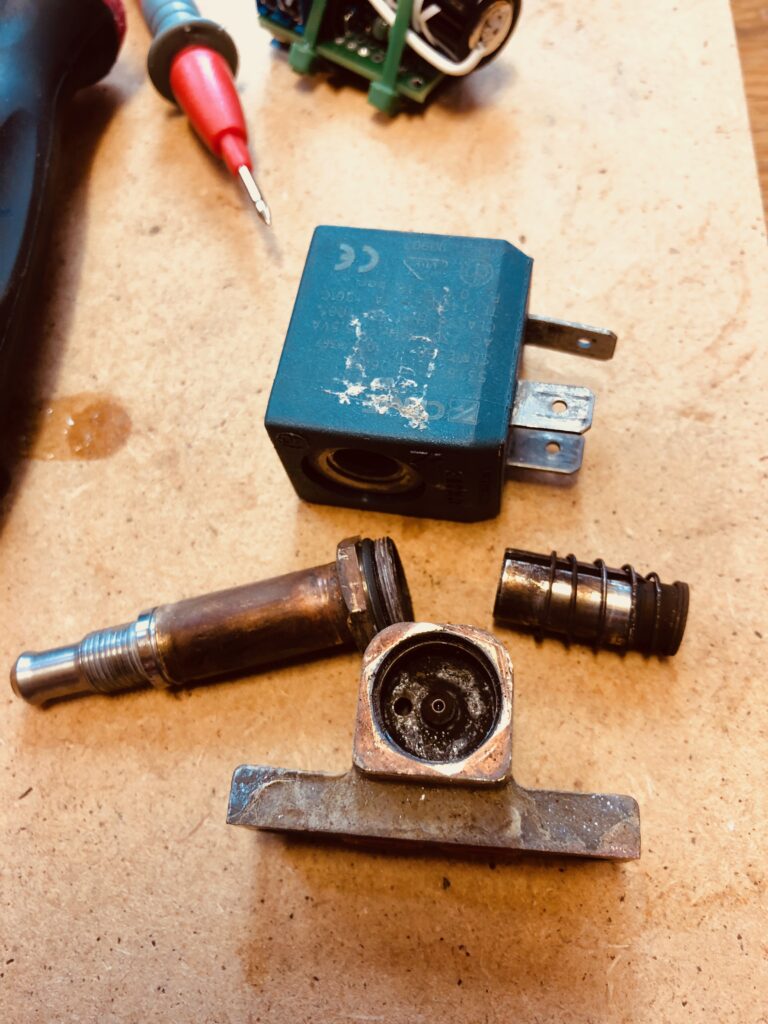
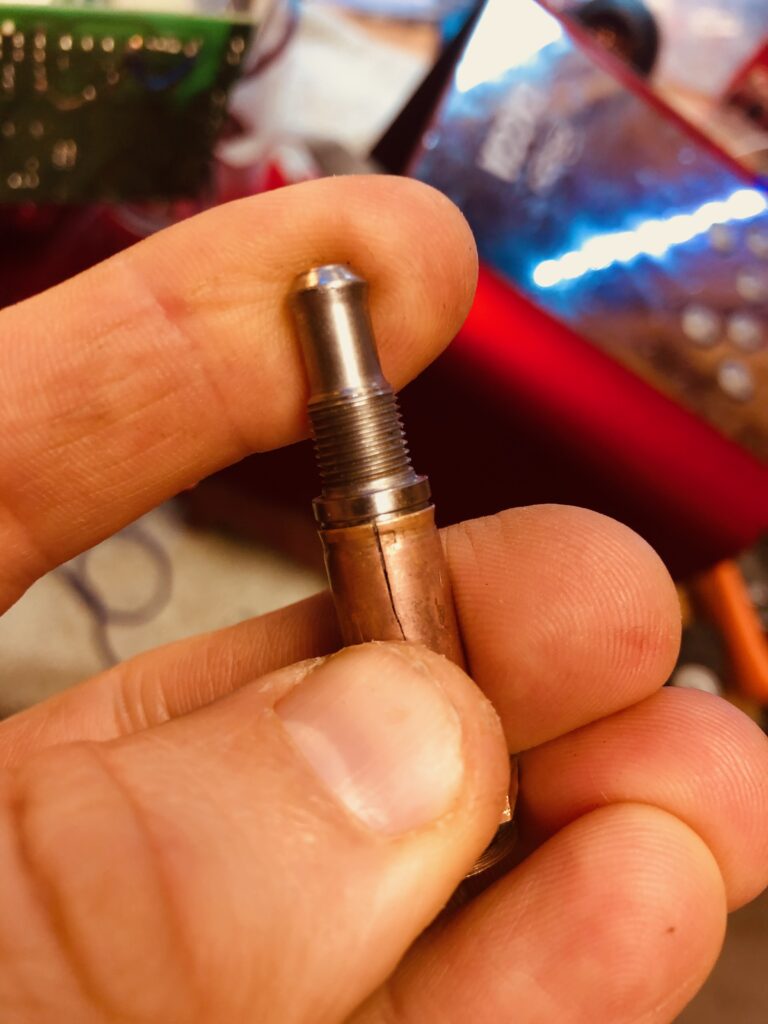
Testing the coil itself shows open circuit. I suspect what ever blew the circuit board also caused the coil to see a large current and act as a fuse. Replacing the coil is a substantial cost even for a used part, and on closer inspection the coil cylinder tube it encapsulates was also cracked. Bad news all round, but none the less we cleaned it all up.
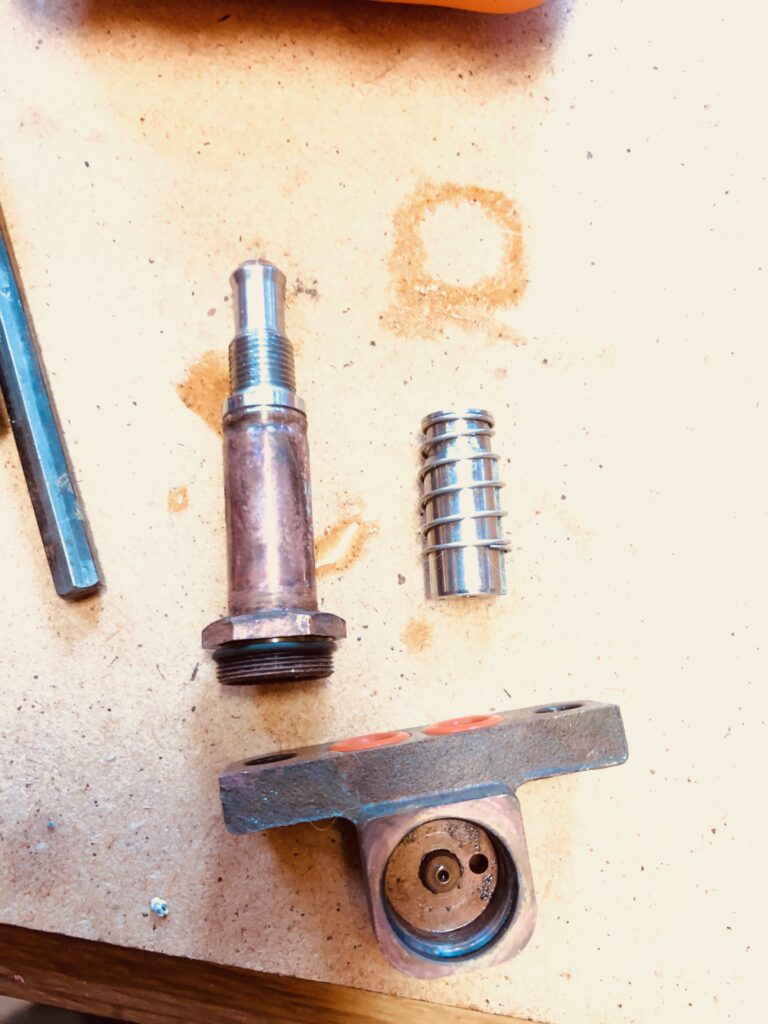
The bottom component above that attaches to the boiler has two holes. The hole on the right side and the centre hole. The water would come up one hole and ideally go back down the the adjacent hole. However this depends on us blocking off the solenoid tube above that allows water to flow back to the drip tray through the now cracked tube.
The problem is this water is pressured at 15 BAR and is not going to be stopped easily. Particularly with a crack in the tube. So what do we do ? It turns out we needed 3 attempts.
Firstly we tried filling the tube with sealant. This was optimistic and as suspected the sheer pressure of the water forced the sealant both up the tube to the drip tray and through the grouphead. Knife through butter.
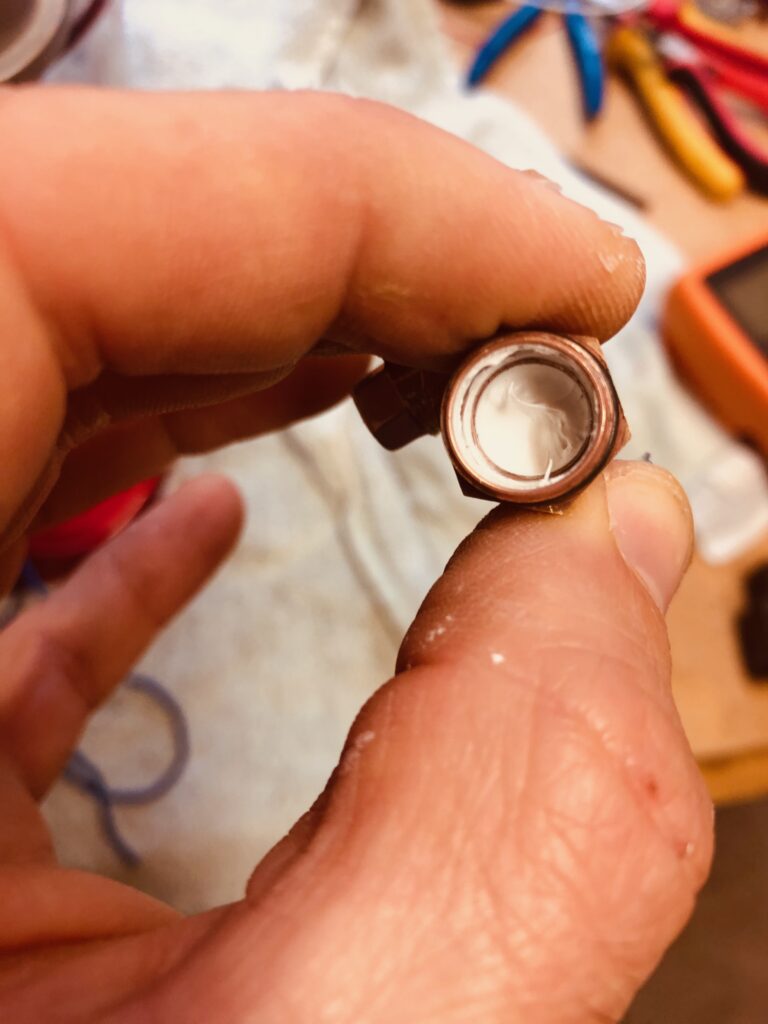
We needed something stronger: Much stronger.
Next was synthetic rubber cork. This was shaped to fit the solenoid tube and forced down the tube entirely blocking the exit. I was confident this would work, and indeed it did. For about 15 minutes. The force of the water stripped the cork into pieces and forced small fragments of it through the grouphead, blocking the internal small pipes in the grouphead itself. This was a major problem and I feared may spell an end to any further attempt at fixing the unit. Even if the water was flowing correctly through the modified solenoid valve, it was now restricted in the grouphead itself which has no easy access.
However, using small pins, and a lot of patience, I was able to extract the small pieces of cork, and there was much relief to see a high force jet of water being emitted from the grouphead, along with several lumps of cork. Even if it was also accompanied by water shooting from the top of the solenoid valve!
With a cracked tube and no easy way of blocking off the tube, I was losing hope we could repair the solenoid valve without replacing the entire part for around £55. However one final attempt involved using Poundland 2 part epoxy. I filled the tube carefully and allowed it to set for 24 hours. Then drilled the top of the epoxy smooth allowing just enough space for the water to move freely from one port to the next without entering the solenoid tube. Success !
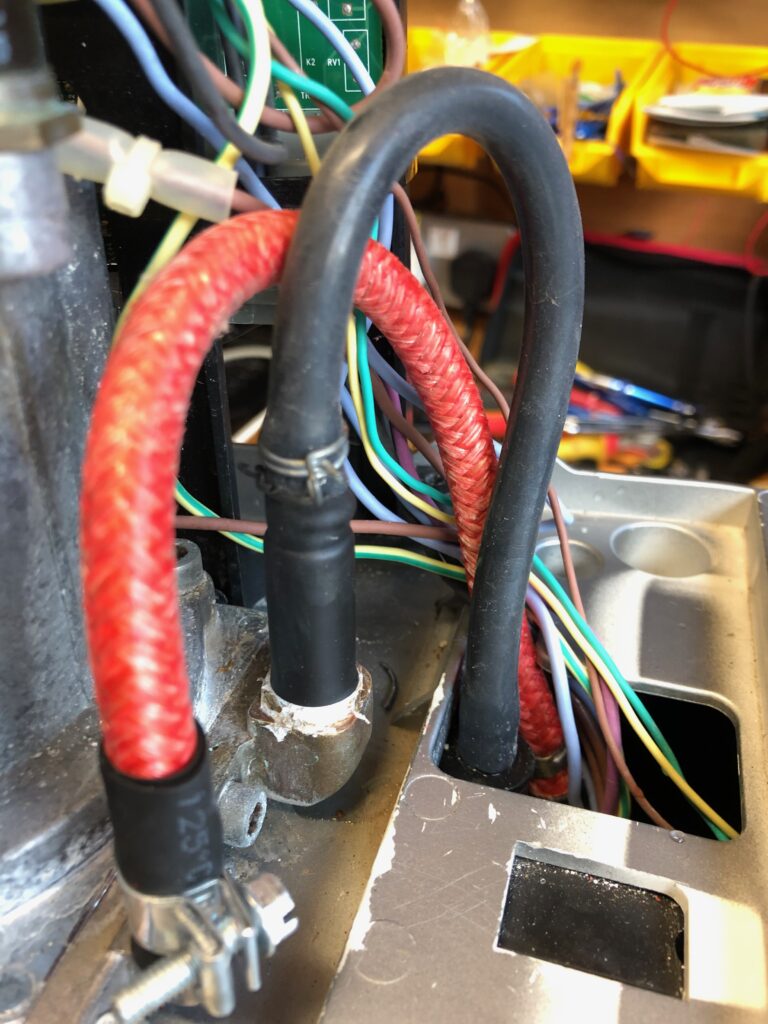
We now had water from the grouphead, but sadly a LOT of leaks. Most of the pipe connections were worn out or were not adequately sealed using jubilee clips when subjected to enormous pressure. Jubilee clips tend to seal with a slight oval shape when tightened, and under pressure this allowed an escape of fluid. We replaced all of the connections with side screw Fuel Hose clips and reinforced the tube seatings with rubber and sealed the joints with PTFE tape. Did it still leak after all this? Yes it did. But only a very small dribble. We can live with it, and the tiny few drops will find their way to the drain holes fine.
Video: Testing the seals.

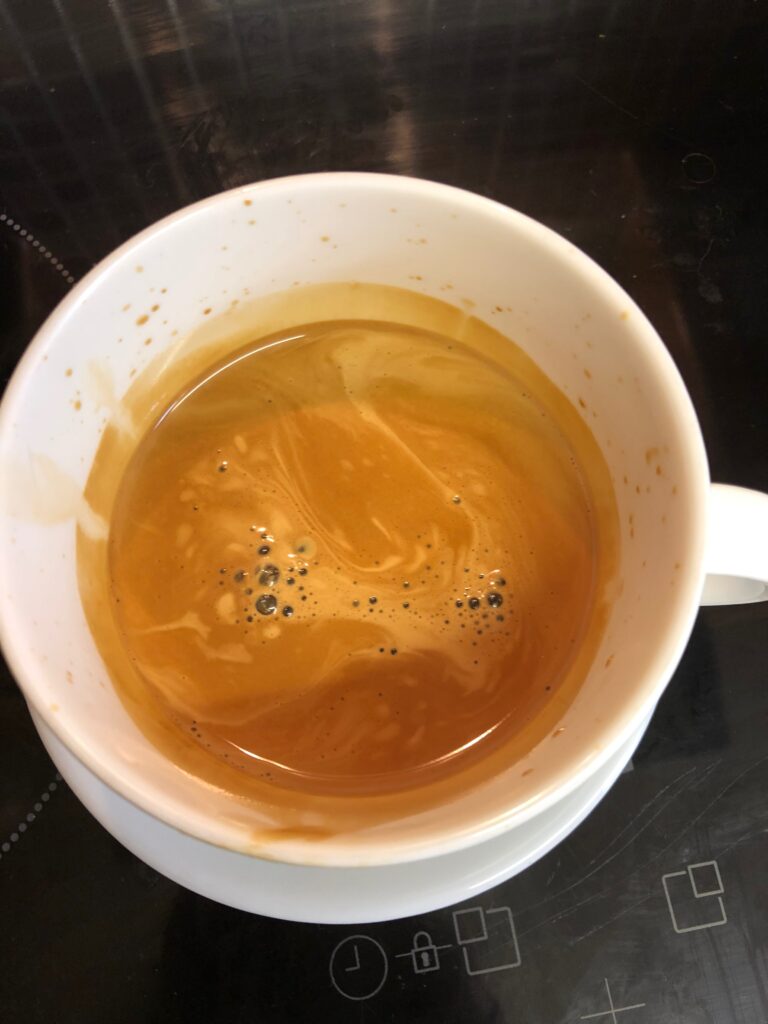
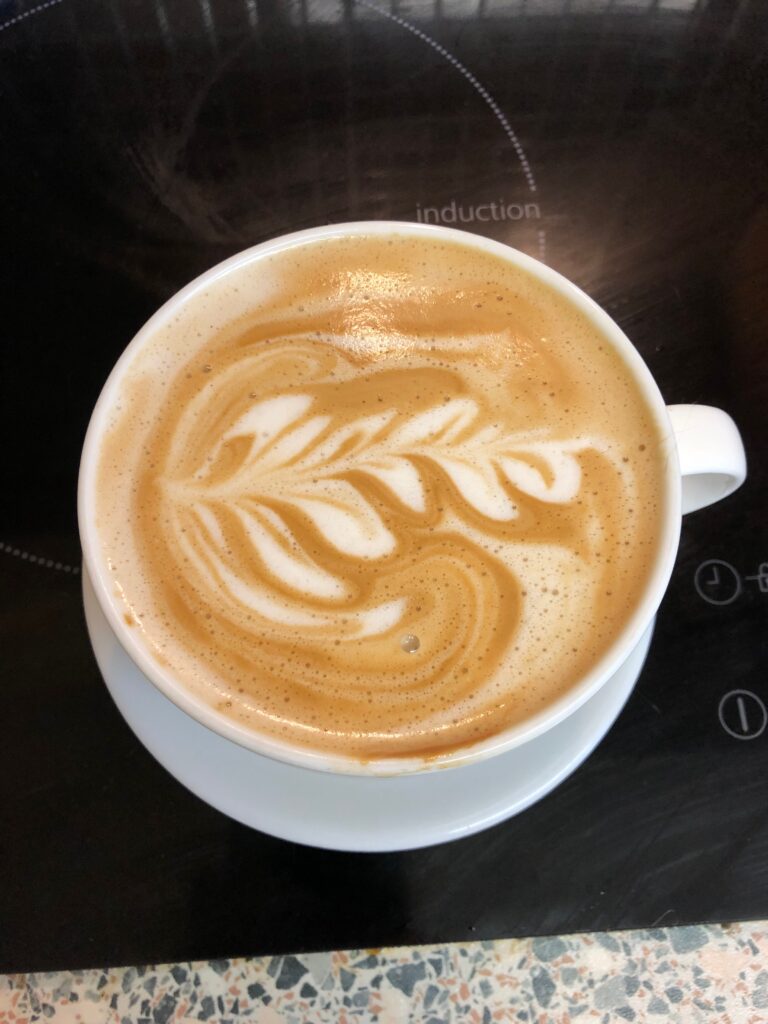
Its been an adventure, but we finally fixed it. It’s fair to say this machine has its share of quirks and will never run like new, but it creates very good coffee and for just £35, its a bargain. 🙂 Thanks for reading. x